本次實作是透過 Google Sheets 作為小型資料庫,然後使用Vue 前端語法做資料的讀取,而且無需透過後端程式來插手。
學習內容大綱
初始化建立 Vue 專案
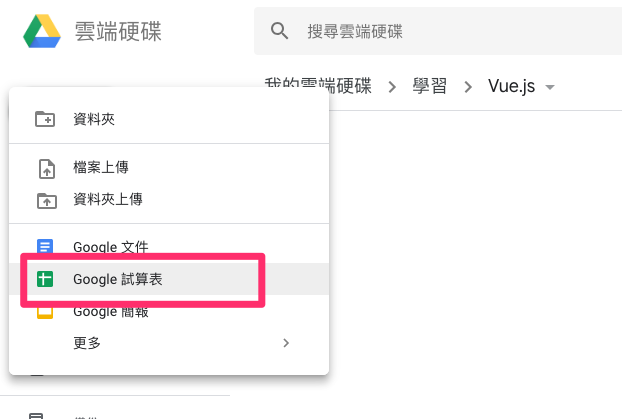
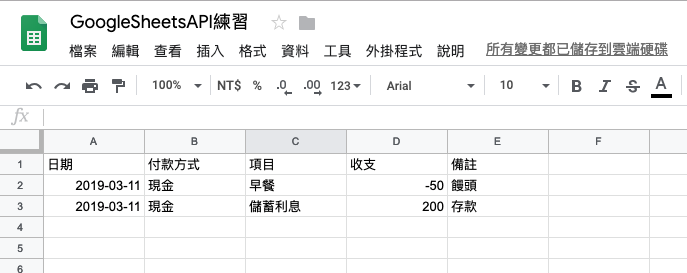
建立 Google Sheets 試算表
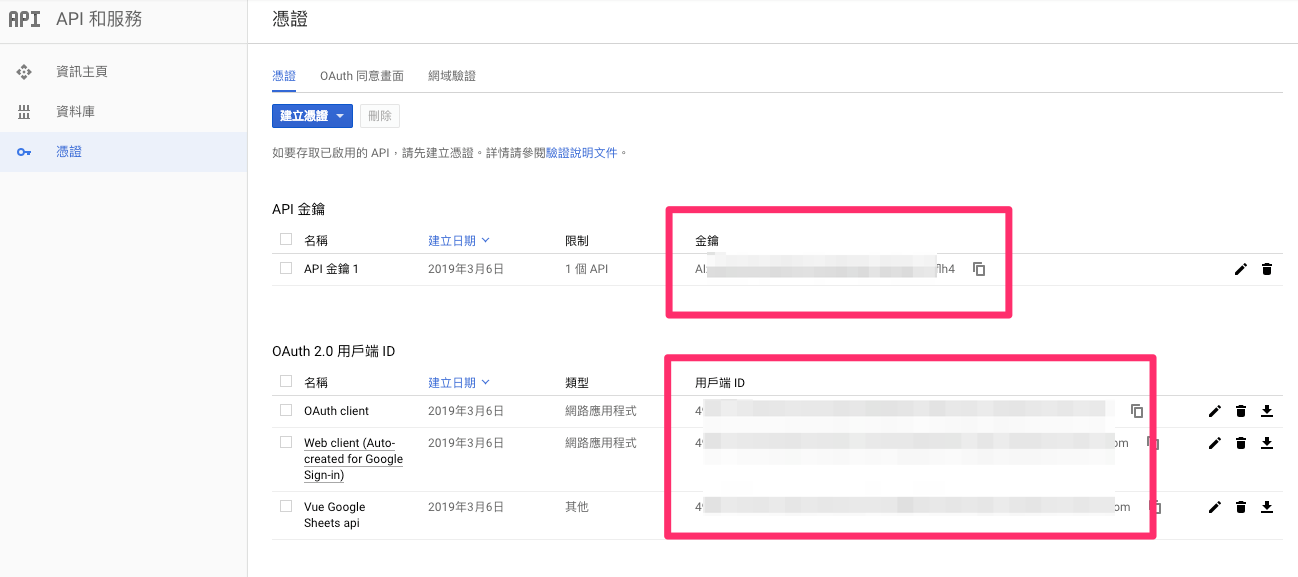
啟動你的 Google Sheets API 存取
準備 Vue 前端 Google Sheets API 執行讀取 4.1 安裝套件 VueGapi 與使用
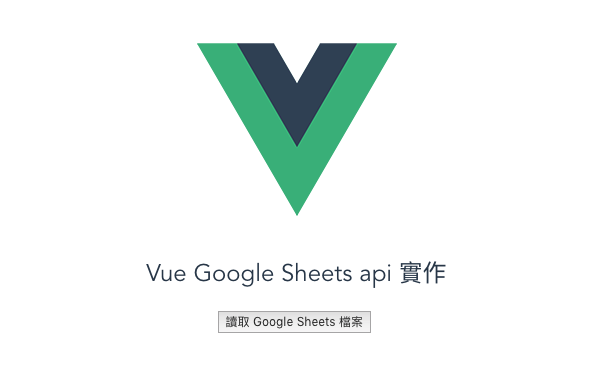
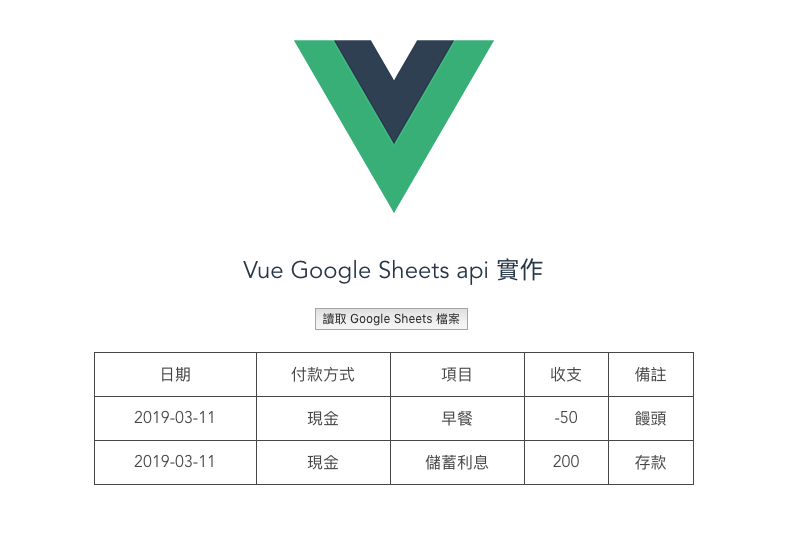
執行結果
初始化建立 Vue 專案
首先一開始我們先建立 webpack Vue 專案,指令如下:
1
$ vue init webpack vue-googlesheets-api
初始化過程中會詢問一些問題,在這裏我沒有全部安裝,因為做基本的練習,有些就選澤 No 就可以了。
1
2
3
4
5
6
7
8
9
10
11
12
13
14
15
16
17
18
19
A newer version of vue-cli is available.
latest: 2.9.6 installed: 2.9.5
? Project name vue-googlesheets-api ? Project description A Vue.js project ? Author XXXXXX <XXXXXXX@gmail.com> ? Vue build standalone ? Install vue-router? Yes ? Use ESLint to lint your code? No ? Set up unit tests No ? Setup e2e tests with Nightwatch? No ? Should we run `npm install` for you after the project has been created? (recommended) yarn vue-cli · Generated "vue-googlesheets-api".
在儲存格有值了以及 Google Sheets API 授權開啟之後,我們就回到 Vue 前端的部分,還記得前面裝好的專案並且可以用瀏覽器閱覽嗎?網址是:http://localhost:8080/#/,在這裡我們需要編寫一些檔案
安裝套件 VueGapi 與使用
首先的是要能夠讓 Vue 讀取 Google API 的方法,就需要使用 vue-gapi 套件,這個可以用來實作對 google 文件的 api 套件,那麼我們在 vue 專案下將套件裝起來。
1
$ yarn add vue-gapi
很好,裝好了對吧?接著趕緊到 /src/main.js 文件裡面將 vue-gapi 載入,讓全域環境裡面可以使用它,新增以下語法用來連線你的應用程式與 Google Sheets 服務
1 2 3 4 5 6 7 8 9 10 11 12
importVueGAPIfrom"vue-gapi"
const apiConfig = { apiKey: "在這裡輸入 api key (請到 google apis 服務查詢)", clientId: "在這裡輸入 client id (請到 google apis 服務查詢).apps.googleusercontent.com", discoveryDocs: ["https://sheets.googleapis.com/$discovery/rest?version=v4"], scope: "https://www.googleapis.com/auth/spreadsheets"// See, edit, create, and delete your spreadsheets in Google Drive // see all available scopes here: https://developers.google.com/identity/protocols/googlescopes' }; // Use the plugin and pass along the configuration Vue.use(VueGAPI, apiConfig);
// The Vue build version to load with the `import` command // (runtime-only or standalone) has been set in webpack.base.conf with an alias. importVuefrom'vue' importAppfrom'./App' import router from'./router' // import the plugin importVueGAPIfrom"vue-gapi"
const apiConfig = { apiKey: "在這裡輸入 api key (請到 google apis 服務查詢)", clientId: "在這裡輸入 client id (請到 google apis 服務查詢).apps.googleusercontent.com", discoveryDocs: ["https://sheets.googleapis.com/$discovery/rest?version=v4"], scope: "https://www.googleapis.com/auth/spreadsheets"// See, edit, create, and delete your spreadsheets in Google Drive // see all available scopes here: https://developers.google.com/identity/protocols/googlescopes' }; // Use the plugin and pass along the configuration Vue.use(VueGAPI, apiConfig); Vue.config.productionTip = false
<template> <divclass="hello"> <h2>Vue Google Sheets api 實作</h2> <button @click="login">讀取 Google Sheets 檔案</button> <br /> <br /> <tablealign="center"> <trv-for="record in records"> <tdv-for="r in record">{{ r }}</td> </tr> </table> </div> </template>
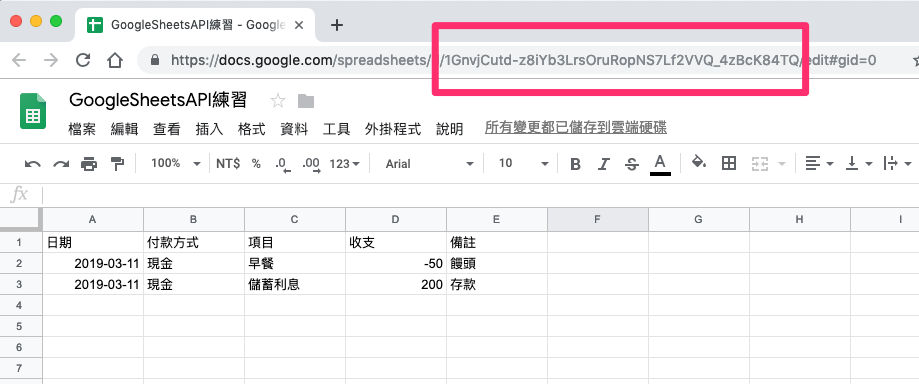
前面我們透過 api key 以及 client id 確立了可以授權存取,接著我們要對剛剛建立好的 sheets 做讀取時,要先知道這個檔案的 ID,這樣才能讓程式知道要讀取的檔案是哪一個,而尋找 ID 的方法也很簡單,打開 Google Sheets 檔案,找到網址上面的一串亂碼的字,如下圖框起來的部分就是 SpreadsheetId 了