部署 Redmine 專案管理追蹤系統到 Heroku 平台
在本篇的介紹使用 Redmine 的好工具,部署到 Heroku 平台上面,屆時就能省去不少設定網路組態,推上 Heroku 後得到的網址便能直接透過瀏覽器開啟 Redmine 應用程式。
Redmin 介紹
Redmine 是一套開源的專案管理追蹤系統,大部分都是用來做系統開發的進度追蹤、問題的管理,在很多專案上的問題追蹤、通知、管理和版本管控都非常方便,替你的工作流程幫助非常大。而這套平台的操作也相當的靈活,甚至還可以設定開放 restful api 方式,可以用程式來呼叫使用,能讓使用這套平台的團隊建立一個良好的管理機制。
從 Github 複製 Redmine 專案
找一個目錄執行以下的指令,將 redmine 複製一份下來,並且找個新的版本,這裡用的是 3.4-stable 版本,你也可以在 Github 找其他的 Redmine 版本 GitHub
1 | $ git clone https://github.com/redmine/redmine.git -b 3.4-stable |
複製完畢之後會多一個 redmine 資料夾,就直接進入資料夾內
1 | $ cd redmine |
調整/移除項目設定
我們需要移除幾個項目,首先是 .gitignore 檔案,將以下的檔案路徑項目都註解起來
1 | Gemfile.lock |
再來是 Gemfile 檔案,也把以下這段註解起來
1 | database_file = File.join(File.dirname(__FILE__), "config/database.yml") |
在同樣的 Gemfile 的文件底下 新增
1 | group :development, :test do |
Gemfile 的第一行的 sourçe https://www.rubygems.org 改成 source http://www.rubygems.org
安裝應用程式所有依存的套件
在上面的 redmine 文件的組態設定一切都改好之後,就能緊接著執行 bundle install,由於 Rails 用了一套 Bundler 工具可以檢查與安裝所有依存的套件,所以如果沒有 Bundler ,需要執行 gem install bundler 安裝。
1 | $ bundle install --without production test |
如果…. bundle install 過程中出現以下錯誤
1 | The dependency tzinfo-data (>= 0) will be unused by any of the platforms Bundler is installing for. Bundler is installing for ruby but the dependency is only for x86-mingw32, x64-mingw32, x86-mswin32. To add those platforms to the bundle, run `bundle lock --add-platform x86-mingw32 x64-mingw32 x86-mswin32`. |
那麼可以照錯誤訊息指示的方式解決。以下是我遇到安裝過程中有誤的時候的操作步驟。
1 | $ bundle lock --add-platform x86-mingw32 x64-mingw32 x86-mswin32 |
設定 config/application.rb
開啟 config/application.rb ,新增一行內容如下:
1 | module RedmineApp |
設定 config/environment.rb
開啟 config/environment.rb ,將 exit 1 註解起來
1 | # Load the Rails application |
最後,在應用程式上面需要建立一個權杖
1 | $ rake generate_secret_token |
開始建立部署 Heroku
建立一個 heroku app 空的應用空間,在 heroku 新增 postgresql
1 | $ heroku create <<YOUR_APP_NAME>> |
把程式推上 Heroku
1 | $ git add --all |
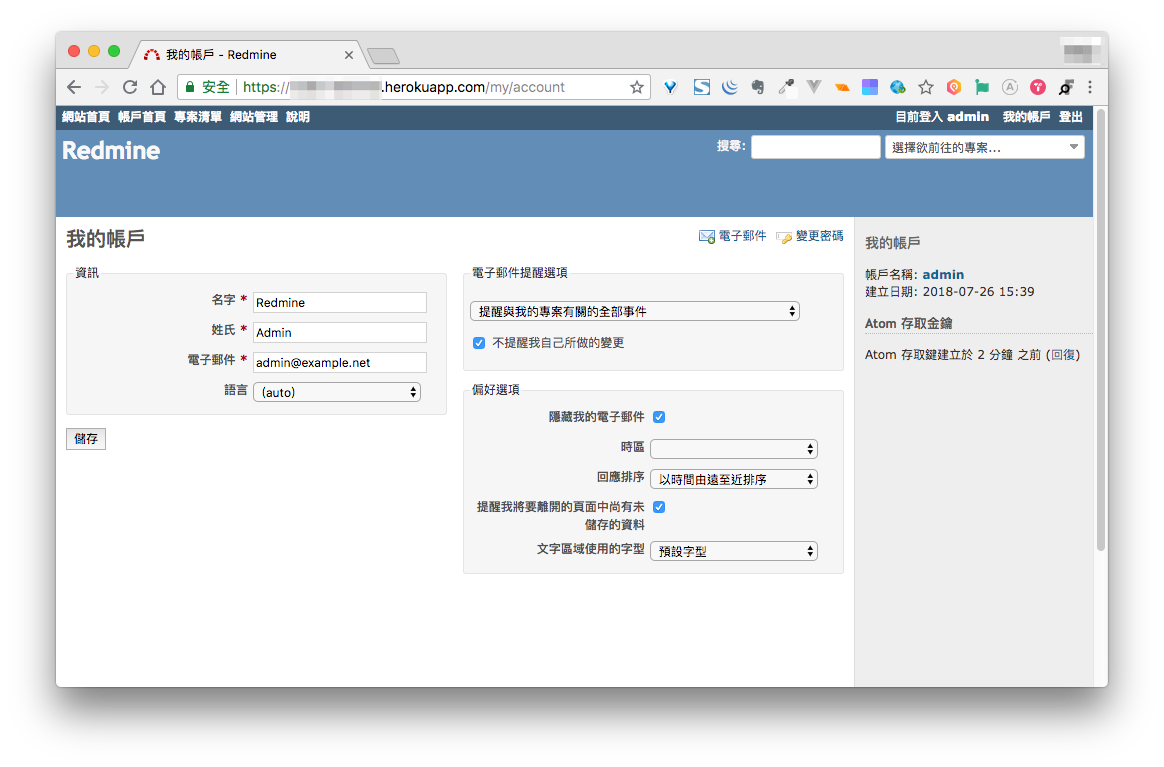
立刻看看 Redmine
用瀏覽器打開或是輸入 heroku open 的話,就會看到 Redmine 已經被裝好了。OH YA.
一開始的初始帳號與密碼是
帳號:admin
密碼:admin
參考
- Redmine@Wiki
- How to deploy Redmine to Heroku
- Bundle command not found mac
- Ruby on Rails入门——macOS 下搭建Ruby Rails Web开发环境
- Bundle command not found mac
- Bundle install is not working
- Gem::LoadError: Specified ‘postgresql’ for database adapter, but the gem is not loaded. Add
gem 'pg'to your Gemfile - Ruby Sqlite3 installation sqlite3_libversion_number() macOS Sierra
- Ruby on Rails入门——macOS 下搭建Ruby Rails Web开发环境